Tile & Flooring
How to Regrout Bathroom Tile Without Replacing It
Learn how to regrout tile step by step: remove old grout, pack in fresh material, and seal it for results that last without replacing a single tile.
Crumbling, stained, or cracked grout does not mean you need new tile. Regrouting is the process of removing the old grout from the joints, cleaning the substrate, and packing fresh material in its place. Done right, it restores the look of a tiled surface and stops water from seeping behind walls or under floors. Most homeowners can get through a standard bathroom wall or floor in a single weekend.
When Regrouting Makes Sense (and When It Does Not)
Regrouting works when the tiles themselves are still solid. Press on each tile before you start. If any flex, feel hollow, or have already popped loose, the adhesive layer underneath has failed. Regrouting over bad adhesion will not hold; those tiles need to come off and be reset before you address the grout.
Signs that regrouting is the right move:
- Grout is crumbling or missing in spots
- Grout has gone gray or brown despite scrubbing
- Hairline cracks run along joints but the tiles are solid
- White mineral deposits (efflorescence) line the joints
If mold is the main complaint and it's only surface-level, a thorough clean with a grout cleaner might be enough. But if mold returns quickly or lives deep in porous grout, removal and replacement is the more permanent fix.
Shower Walls vs. Bathroom Floors
Regrouting shower tile follows the same basic steps as a floor, with two differences. First, use unsanded grout for joints under 1/8 inch (3 mm), which is typical on wall tile. Floor tile usually has joints between 1/8 and 1/4 inch (3 to 6 mm), so sanded grout is the right call there. Second, shower walls need a full cure before water hits them. That's 48 to 72 hours minimum for most standard cement grouts; some epoxy products require up to 7 days, so read the spec before you tile up the bathroom door.
Tools and Materials You Need
You do not need specialty equipment. A handful of specific tools make the job faster and reduce the risk of nicking tiles, but most cost under $20.
For removing old grout:
- Oscillating multi-tool with a grout removal blade (fastest option)
- Manual grout saw (slower, quieter, less dust)
- Stiff brush and a shop vacuum
For applying new grout:
- Rubber grout float
- Two or three clean buckets
- Large grout sponge (not a dish sponge)
- Painter's tape
- Grout sealer (for cement-based grout only)
Choosing the right grout:
- Unsanded cement grout: joints under 1/8 in (3 mm)
- Sanded cement grout: joints 1/8 to 1/4 in (3 to 6 mm) or wider
- Epoxy grout: stain-resistant, excellent for showers, harder to work with
- Pre-mixed grout: convenient but sets more slowly
Match the grout color to what's already in your bathroom unless you're doing a deliberate change. Bring a tile or a photo when you shop so you can compare chips side by side.
How to Remove Old Grout
This step takes longer than people expect. It's dusty, slow near tile edges, and requires patience. Rushing with an oscillating tool on the wrong speed chips tiles.
Setting Up the Multi-Tool
Start at the lowest speed and run a test pass on one short joint. A carbide or diamond grout blade works best. Hold the tool at a shallow angle (about 20 to 30 degrees) so the blade rides in the joint and does not contact the tile face. Remove grout to a depth of roughly 1/8 to 3/16 inch (3 to 5 mm). That's enough for the new grout to key in and hold without undercutting the tile edge.
If you don't have an oscillating tool, a manual grout saw gets the job done. It takes two or three times as long on a wall, but gives you much better control around tight corners and decorative tile insets. For very old, potentially fragile tile, the manual saw is the safer choice regardless of how long it takes.
Cleaning the Joints
Once the old grout is out, vacuum the joints thoroughly. Follow with a damp cloth to pull out fine dust, then let everything dry completely. Moisture sitting in the joint interferes with how the new grout sets. On a bathroom floor, 30 to 60 minutes of air drying is usually enough. On shower walls that have been in daily use, leave it overnight before moving on.
Mixing and Applying New Grout
Read the bag instructions before you mix. Grout ratios vary by brand, and the powder-to-water ratio affects final strength. A general starting point for sanded grout is roughly 1 part water to 5 or 6 parts powder by volume, but the bag's numbers take priority over any rule of thumb.
Add the powder to the water (not the other way around) and mix to a smooth, peanut-butter consistency. Let the batch rest, or "slake," for 5 to 10 minutes. This lets the polymers fully hydrate. Give it one more short stir before you start spreading.
Working in Sections
Break the floor or wall into sections of about 3 to 4 square feet (roughly 0.3 to 0.4 sq m). Apply grout with the rubber float held at a 45-degree angle to the surface, pressing firmly so the mix packs into the joints. Work diagonally across the joints, not parallel, so you're pushing material in rather than dragging it out.
For regrouting shower tile, tape off any silicone caulk lines at corners before you start. The corners where the wall meets the tub deck, or where two walls meet, move slightly with temperature change. Those joints stay as caulk, not grout.
Wiping and Finishing
Give the grout 15 to 20 minutes to firm up before you start wiping. Then use a damp sponge (damp, not soaking) in circular motions to remove the haze from the tile face. Rinse the sponge frequently. Two buckets help here: one for rinsing the sponge, one holding clean water.
A second light pass 5 to 10 minutes later pulls off most of the remaining film. When the surface looks nearly dry, usually 30 to 45 minutes after grouting, buff the last haze with a dry microfiber cloth.
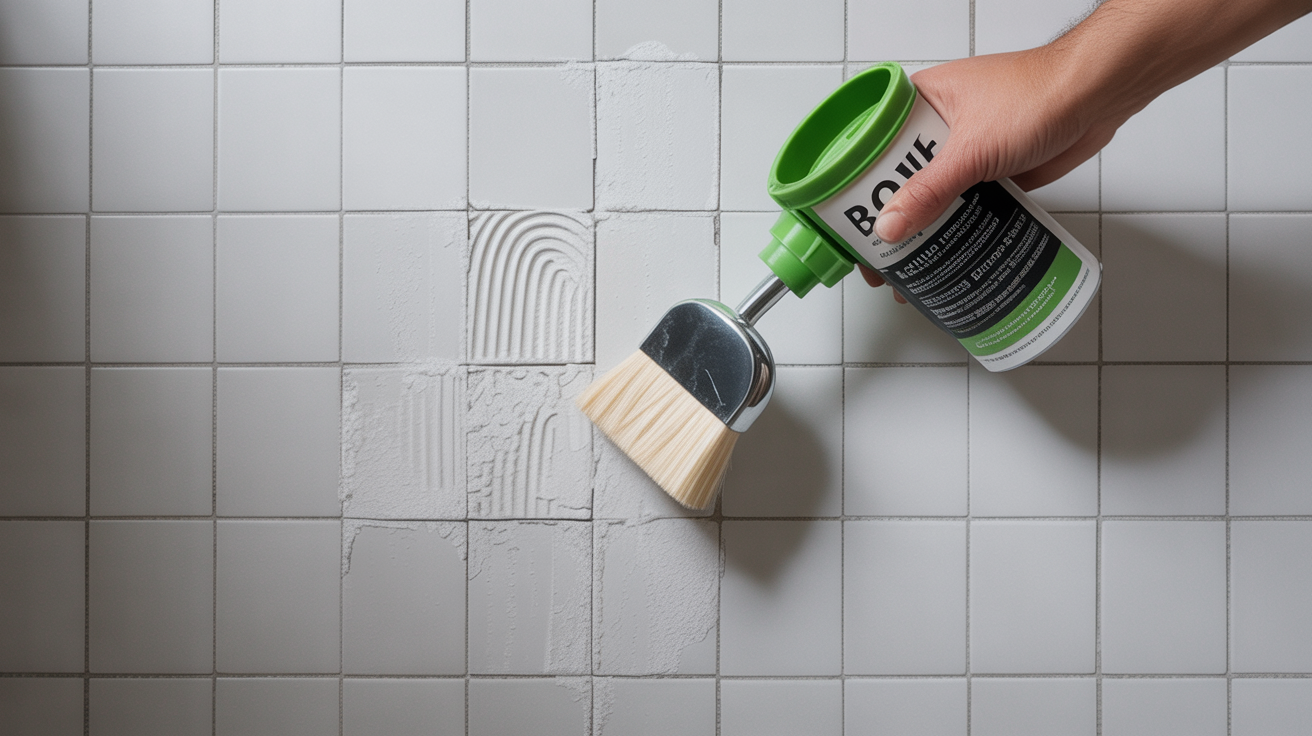
Sealing and Curing
Cement-based grout needs sealer. Epoxy grout does not. Apply sealer only after the grout has fully cured, typically 48 to 72 hours for standard mixes. A small foam brush or a dedicated sealer applicator works well. Work the sealer into the joints; wipe any that lands on the tile face within 5 minutes. One coat is enough for a fresh regrout. Let it dry for 24 hours before the surface sees water or cleaning products.
On a bathroom floor, sealing pays off especially well because foot traffic and spills keep grout under constant pressure. On shower walls, sealer adds a layer of protection on top of what the grout itself provides, slowing down mineral staining considerably.
A bead-of-water test tells you when a reseal is due: drip water onto the grout. If it beads up, the seal is still working. If it absorbs, it's time. For most households, resealing every 12 to 18 months is a reasonable rhythm.
If you're planning a full floor overhaul rather than a targeted repair, our guide to the best flooring for bathrooms covers how grout joint width and tile type interact across different floor categories.
Frequently Asked Questions
Can I apply new grout directly over old grout?
You can add a thin layer of grout over old grout that is fully bonded and intact, but it tends to crack within a year or two. The new layer lacks the depth to bond properly. For a lasting result, remove at least two-thirds of the old grout depth before packing in fresh material.
How long does regrouting a bathroom take?
For a standard 5x8 foot (1.5 x 2.4 m) bathroom floor, expect 4 to 6 hours spread across two days. Day one for removing old grout and letting everything dry; day two for mixing, applying, and wiping. Walls go faster because the area is smaller. Showers take roughly the same time as a floor.
What's the difference between regrouting and recaulking?
Grout fills the joints between tiles on flat, consistent surfaces. Caulk fills the corner joints where two planes meet (floor to wall, wall to wall at corners, tub deck to tile) because those joints flex slightly. If both are failing, do both. Never grout a corner joint.
Can I regrout old tile that's been in place for decades?
Yes, as long as the tiles are firmly adhered. Very old tile often has brittle grout that crumbles out more easily, which can actually speed up removal. The main risk with older tile is that the face can crack from vibration. Use a manual grout saw rather than an oscillating tool on any tile you suspect might be fragile.
Do I need to seal grout in a shower?
Yes, for cement-based grout. Shower grout is exposed to water constantly, and unsealed cement grout absorbs water, mineral deposits, and soap residue over time. Apply sealer after the full cure period (72 hours for most products) and plan to reseal once a year. Epoxy grout is the exception; it does not need sealing at all.