Renovations
Master Bathroom Remodel Ideas and Must-Haves
Planning a master bathroom remodel? Explore layout options, must-have features, and finish choices that make a primary bathroom worth every dollar.
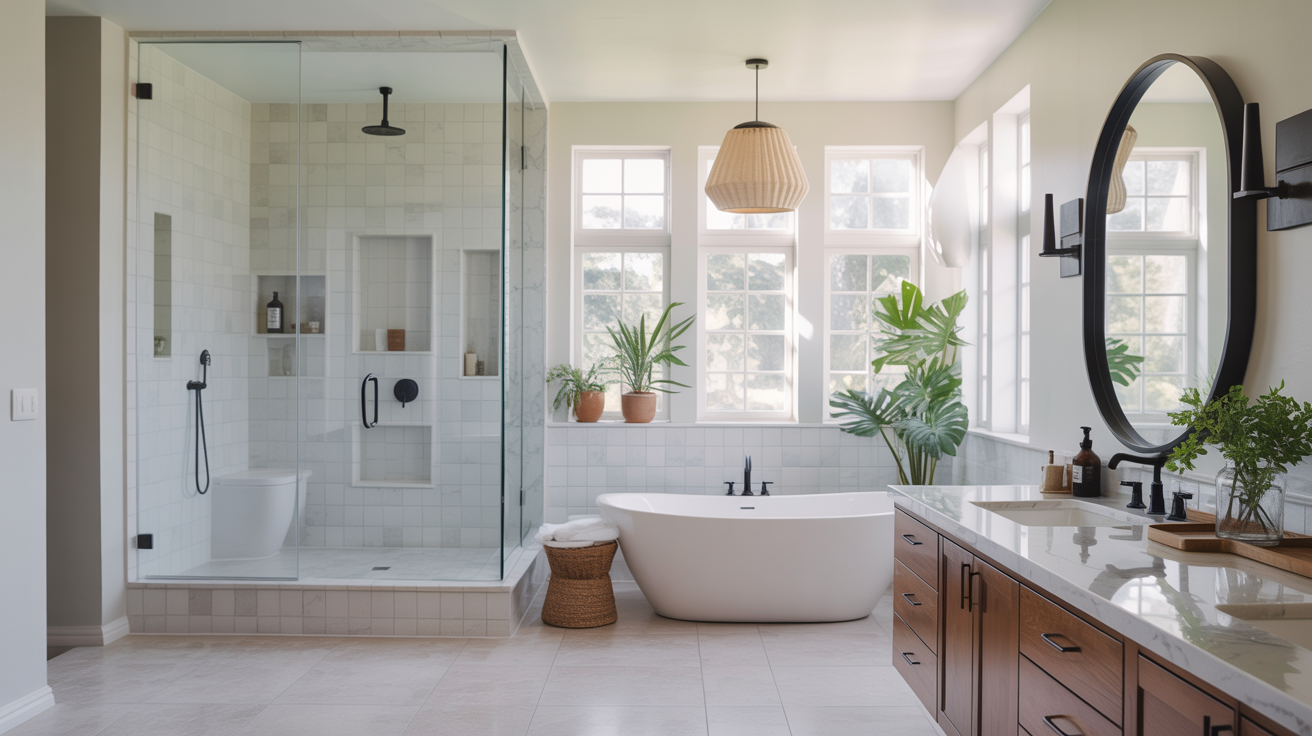
A master bathroom remodel is one of the few renovations you'll notice every single day. Unlike a guest bath that serves occasional visitors, the primary bathroom is used at 6 a.m. and again at 10 p.m. by the people whose routines actually depend on it. That daily contact makes getting the decisions right feel high-stakes, but it also means you have clear criteria: build exactly what you need, not a space designed to appeal to some hypothetical future buyer.
A lot can change without touching a single wall. Fixture upgrades, better tile choices, and smarter storage can turn a tired ensuite into a room that actually feels good to be in. That said, if structural changes are on the table, this is the renovation where they pay off most.
At a Glance
- Layout is the hardest and most expensive decision to undo, so settle it before picking a single fixture or tile.
- Code minimum toilet clearance is 15 inches from centerline to a side wall, but 18 inches feels noticeably better in daily use.
- A curbless walk-in shower at 36 x 48 inches or larger reads as a real design feature, not just a fixture swap.
- Ventilation matters more than most homeowners budget for: a glass-enclosed shower needs 110 to 150 CFM to clear steam before it settles into the walls.
- Larger floor tile (24 x 24 inches) cuts grout lines roughly to a quarter of what a 12 x 12 tile leaves at the same joint width.
- A full gut remodel typically runs 4 to 8 weeks of construction, on top of 4 to 12 weeks of planning if you're deciding carefully rather than rushing.
What Makes a Primary Bathroom Different from Other Baths
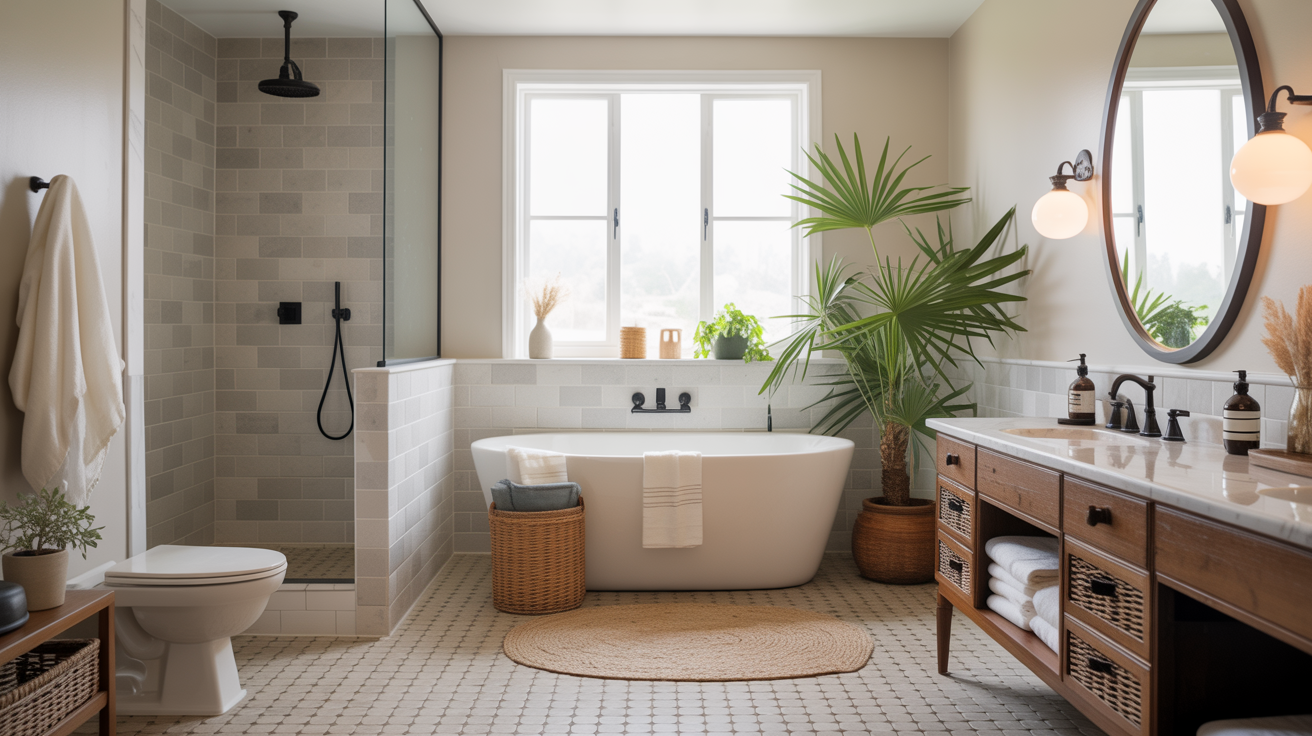
The defining feature of a master bath is its audience: two people (usually) with shared habits and specific daily needs. That focus allows you to make opinionated decisions you couldn't make in a shared hall bath.
Standard vanity height is 32 to 34 inches. If both users are 5'10" or taller, a 36-inch height is noticeably more comfortable and is easy to spec on custom or semi-custom cabinetry. If neither of you takes baths, removing a tub entirely and expanding the shower is a legitimate choice, not a resale risk in most markets. A radiant-heated floor feels like an indulgence until the first November morning when the tile is warm underfoot, at which point it feels like a necessity.
None of those decisions work in a guest bath. They work in a primary bathroom precisely because you know who's using it.
Layout: The Decision That Costs the Most to Undo
Fixtures and tile get most of the attention in master bath planning, but layout is harder and more expensive to reverse. It's worth spending time here before anything else.
Common Layouts and Their Trade-Offs
Double vanity side by side. The most requested configuration. Two 24-inch sinks with modest clearance on each side require at least a 60-inch vanity run, which typically fills one full wall. A 10 x 8 ft footprint is the comfortable minimum for this layout plus a separate shower.
Split vanities. Two separate vanity zones on opposite walls give each user their own counter, mirror, and storage without sharing a single surface. Works especially well when one person needs substantially more drawer space than the other.
Wet zone and dry zone separation. Splitting the shower and toilet (wet zone) from the vanity area (dry zone) lets one person shower while the other gets ready without steam filling the entire room. This typically needs 80 to 100 sq ft to feel intentional rather than cramped.
Toilet Placement
Toilets are often placed last in layout planning, which leads to the most common regret in ensuite renovation ideas: the toilet is the first thing visible when the door opens. Code minimum is 15 inches from the toilet centerline to any side wall or obstruction, but 18 inches is more comfortable in practice. A compartmentalized toilet room (minimum 30 inches wide by 60 inches deep) solves both the visibility and the clearance problem at once, if your square footage allows it.
If you're planning for long-term or universal-design use, the U.S. Access Board's ADA guidance specifies a 16- to 18-inch centerline clearance and a 60-by-56-inch minimum clear floor space in front of an accessible toilet. That's a stricter standard than most residential plumbing codes require, but it's a useful target if you or a future occupant may need a wheelchair-accessible bathroom down the road. Building it in during a full remodel costs far less than retrofitting later.
If moving the toilet to a better location requires rerouting the drain line, get that cost quoted before deciding to keep the existing footprint.
Must-Have Features Worth Protecting in the Budget
Some features show up on every master bath wish list and get cut first when costs climb. Here's an honest look at which ones are worth keeping.
Walk-In Shower
A curbless walk-in shower reads cleaner, cleans more easily (no curb collecting residue), and works better for everyone regardless of mobility. The floor needs a 1/4-inch-per-foot slope toward the drain. A linear drain along one wall simplifies tile layout since you only need slope in one direction. A center drain requires four-way pitch, which is more complex to tile correctly.
Minimum functional shower size is 36 x 36 inches. At 36 x 48 inches, it starts to feel genuinely comfortable. At 36 x 60 inches or larger, it reads as a real design feature. If you have the floor area, this is a worthwhile use of it.
Radiant Floor Heating
For a single bathroom, electric mat systems (heating cables under tile, controlled by a programmable thermostat) are more practical than hydronic systems. They typically run 8 to 15 watts per square foot. A 60 sq ft floor draws roughly 600 to 900 watts for a morning warm-up cycle, which at a typical residential electricity rate costs pennies per use. The thermostat schedules the heat to arrive before you do, so you're not waiting for it. Installation adds cost but less than many people assume; get a quote from a licensed electrician while the floor is already being tiled, since running the mat afterward means pulling the tile back up.
Ventilation That Actually Works
The code minimum for bathroom ventilation is 1 CFM per square foot of floor area. A larger master bath with a glass-enclosed shower benefits from 110 to 150 CFM to clear steam before it settles into wall cavities. That's not a cosmetic concern: the EPA notes that indoor relative humidity should stay below 60 percent, ideally between 30 and 50 percent, and calls out showering as one of the main daily sources of indoor humidity spikes. A fan sized and run correctly is what keeps a steamy shower from turning into a slow mold problem behind the drywall.
The fan must vent to the exterior, not into an attic space. Combination fan-light units cover both functions without sacrificing ceiling real estate, and a humidity-sensing model will run automatically when steam is present without requiring you to remember to turn it on.
Tile and Finishes That Age Well
Master bath tile is a long-term commitment because it's expensive and disruptive to change. A few principles hold across styles and price points.
Larger floor tiles mean fewer grout lines. A 24 x 24-inch porcelain tile has roughly a quarter of the grout lines of a 12 x 12-inch tile at the same joint width. Fewer grout lines is easier to clean and visually calmer.
Floor tile needs sufficient slip resistance. Wet-area floors should meet an ANSI A137.1 COF (coefficient of friction) of 0.6 or higher. Wall tile has no such requirement, so you have more latitude for texture and gloss on vertical surfaces.
Grout color is a real design decision. White grout on a floor reads clean initially and shows staining within a few years. A medium taupe, warm gray, or sand-tone grout shows less over time and makes cleaning feel less urgent. Epoxy grout is more stain-resistant than cement grout and doesn't require sealing, though it's less forgiving to install and often better left to a professional.
Master Bath Spec Cheat Sheet
Pulling the code minimums and comfort standards from across this guide into one table makes it easier to check your plans against before you finalize anything.
| Element | Code Minimum | Comfortable Standard | Notes |
|---|---|---|---|
| Vanity height | 32 in | 34-36 in | Taller for users 5'10"+ |
| Toilet clearance (centerline) | 15 in | 18 in | Accessible/ADA target: 16-18 in |
| Shower size | 36 x 36 in | 36 x 48 to 60+ in | Larger reads as a design feature |
| Ventilation | 1 CFM/sq ft | 110-150 CFM (glass-enclosed) | Must vent to exterior |
| Showerhead height | 80 in | 84 in | For users over 6 ft |
| Floor slip resistance (wet) | COF 0.6 (ANSI A137.1) | Same | No requirement on wall tile |
Fixtures and Vanities: Getting Scale and Placement Right
A few fixture decisions have an outsized effect on daily usability.
Vanity Sizing
Standard double vanities run 60 to 72 inches wide. Deeper vanities (22 to 24 inches front-to-back) are more comfortable to use and hold more under-sink storage than the 18-inch depth found in some older homes. Floating vanities clear the floor visually and make the room feel larger, but they require blocking in the wall at the right height during the rough-in phase. Confirm your rough plumbing locations before ordering any vanity, since moving drain lines mid-project adds cost.
Showerhead Height
Standard showerhead rough-in height is 80 inches from the finished floor. For anyone over 6 feet tall, 84 inches is more comfortable and doesn't require ducking under the stream. A rain-shower head mounted overhead and a wall-mounted head can share a single thermostatic valve body with a diverter, so you get both options without running separate supply lines.
Flow rate is worth checking on the spec sheet, too. A WaterSense-labeled showerhead is certified to use no more than 2.0 gallons per minute, about 20 percent less than a standard 2.5 gpm head, without a meaningful drop in pressure at the rated height. Over two people showering daily, that difference adds up on the water bill without you ever noticing it in the shower.
Before finalizing your design, a full walkthrough of how to plan a bathroom remodel step by step helps you sequence decisions correctly so nothing gets locked in before you're ready. And a realistic look at how much a bathroom remodel costs in 2026 will tell you where the budget actually goes so you can make trade-offs with clear information.
Frequently Asked Questions
How long does a master bathroom remodel take?
A full gut renovation typically takes 4 to 8 weeks from demo to completion, depending on scope and contractor scheduling. Custom tile work, specialty fixtures, or structural changes extend that range. The planning phase before demo, where you finalize layout, order fixtures, and select tile, usually takes 4 to 12 weeks on its own if you're making decisions carefully rather than rushing.
Do I need a permit for a master bathroom remodel?
Most jurisdictions require permits for plumbing changes (relocating drain or supply lines), electrical work (adding circuits or moving fixtures), and structural modifications. Cosmetic work, such as swapping a vanity without moving plumbing or retiling a floor, typically does not require a permit, though local codes vary. Check with your local building department before starting work, not after.
Is a freestanding tub worth including in a master bath?
It depends on whether you actually take baths. A freestanding soaking tub looks striking and photographs well. In practice, they're harder to clean underneath, faucet placement can be awkward, and filling a deep tub (60 to 80 gallons for many models) takes time. If baths are part of your regular routine, the investment makes sense. If the tub is primarily a resale feature, that 15 to 20 sq ft might serve you better as walk-in shower space.
What's the minimum square footage for a functional master bathroom?
A single-sink ensuite with a shower and toilet can function in as little as 40 sq ft, but it will feel tight. A double-vanity layout with a separate shower and compartmentalized toilet needs 80 to 100 sq ft to flow well. If you're adding a soaking tub alongside a walk-in shower, 120 sq ft or more gives each feature room to read as intentional rather than crammed in.
Can I retile the shower walls and keep the existing pan?
Yes, if the pan is in good condition, properly sloped, and showing no signs of movement or cracking. The critical point is waterproofing continuity at the transition between the existing pan and new wall tile. Have a tile installer assess the pan and existing curb before committing. If there are any soft spots in the subfloor or failed caulk at the seam, replacing the pan entirely at the same time as the wall tile usually costs less than addressing water damage discovered later.
Should I plan for a bidet or bidet seat during the remodel?
If you're already opening the wall, yes, it's worth the small extra cost. A bidet seat needs a nearby GFCI outlet (usually within 3 feet, check the manufacturer's spec) and, for models with a warm-water line, a supply valve tee'd off the toilet's existing line. Both are inexpensive to add during a gut remodel and expensive to retrofit into finished walls afterward. If you're not sure you want one now, roughing in the outlet and valve during construction keeps the option open at minimal cost.
What clearance should I plan for if I want the bathroom to be accessible long-term?
Beyond the toilet clearances above, plan at least a 60-inch turning diameter somewhere in the room (it can overlap with other clear floor spaces), a curbless shower entry, and blocking in the walls near the toilet and shower for future grab bars even if you don't install them now. Building that blocking in during the initial framing costs almost nothing extra; adding it after the walls are finished means opening them back up.